How to Build a Design System With Claude Code
Your WordPress theme was enforcing design consistency invisibly. When you migrate to a custom Claude Code build, that disappears. Here is how to replace it with four files.
Read articleYou do not need to be a developer to use Claude Code. This tutorial walks you through your first real project - from installation to working output.

Here is the moment that trips most people up.
You open your terminal for the first time. You type claude. You get a prompt. And then you freeze - because nobody told you what to actually say.
This tutorial fixes that. Five steps. At the end, you have working output and a configured instruction layer. That is all that needs to happen in session one.
You need three things. Node.js installed on your computer. An Anthropic account with an API key. A clear idea of what you want to build in this first session.
The first two take about twenty minutes to set up. The third is the one most people skip - and it is the most important one.
Do not open Claude Code until you know what your first project is. A single page website. A script that renames files. A form that stores data. Something specific. Something small. One session should have one goal.
Open your terminal. On a Mac, press Command + Space and search for Terminal. On Windows, open Command Prompt or PowerShell.
Run this command:
npm install -g @anthropic-ai/claude-codeWhen it finishes, run claude --version. You will see a version number. Installation is complete.
If you do not have an API key yet, go to console.anthropic.com. Create an account and add a payment method. Most beginner sessions cost under one dollar.
Navigate to your project folder in the terminal. Then run claude.
cd ~/Desktop/my-project
claude
A prompt appears. This is where you describe what you want to build.
Be specific. Not “build me a website.” Instead: “Build a single HTML file. Dark navy background. White text. A headline at the top that says My Project. A short paragraph below it. No external libraries.”
Claude Code will write the file. Open it. Tell it what to change. Repeat until it is right.
You are not coding. You are directing.
Your job is to describe what you see and what needs to change. Not in code. In plain language. “The headline is too large.” “The button needs more padding.” “This should loop through all rows, not just the first one.”
The more specific you are about the target, the faster you get there. Before you write any instruction, ask yourself: could Claude Code produce five completely different things that all technically satisfy this request? If yes, add more detail.
Sometimes Claude Code produces output that does not run. This happens. You do not need to understand the error.
Copy the error message. Paste it back into Claude Code. Say: “This error appeared when I ran it - please fix it.”
Claude Code reads the error, finds the cause, and updates the file. You never touch the code. You just relay the message.
This is the step that makes session two faster than session one.
CLAUDE.md is a file in your project root. Claude Code reads it before every session. It holds your project description, your stack, and your rules. Without it, every new session starts blank. With it, Claude Code already knows your project from the first message.
After your first session, ask Claude Code to create one:
“Review what we built today. Create a CLAUDE.md for this project. Include what the project is, what stack we used, and any rules you should follow going forward.”
That is your instruction layer. Set it up once. Every session after that starts from your standards.
Session one is about getting working output. Session two is about refining it. By session three, you move fast.
The pattern is simple: brief, build, review, revise. Three to five rounds is normal. If you stop after round one, you miss how fast it gets better.
One week free. If you want to try Claude Code before you commit, Anthropic offers a free week through referral. Start your free week here - no payment needed to begin.
This is part of the Build System - the layer that takes you from first session to consistent output. The Starter Guide continues from exactly here.
Next in this series: Claude Code Best Practices
May you build Greatness! 🍀
Michael
Your WordPress theme was enforcing design consistency invisibly. When you migrate to a custom Claude Code build, that disappears. Here is how to replace it with four files.
Read article
Claude Code is not a developer tool. It is the tool that builds the marketing automations you keep describing in chat. No developer needed.
Read article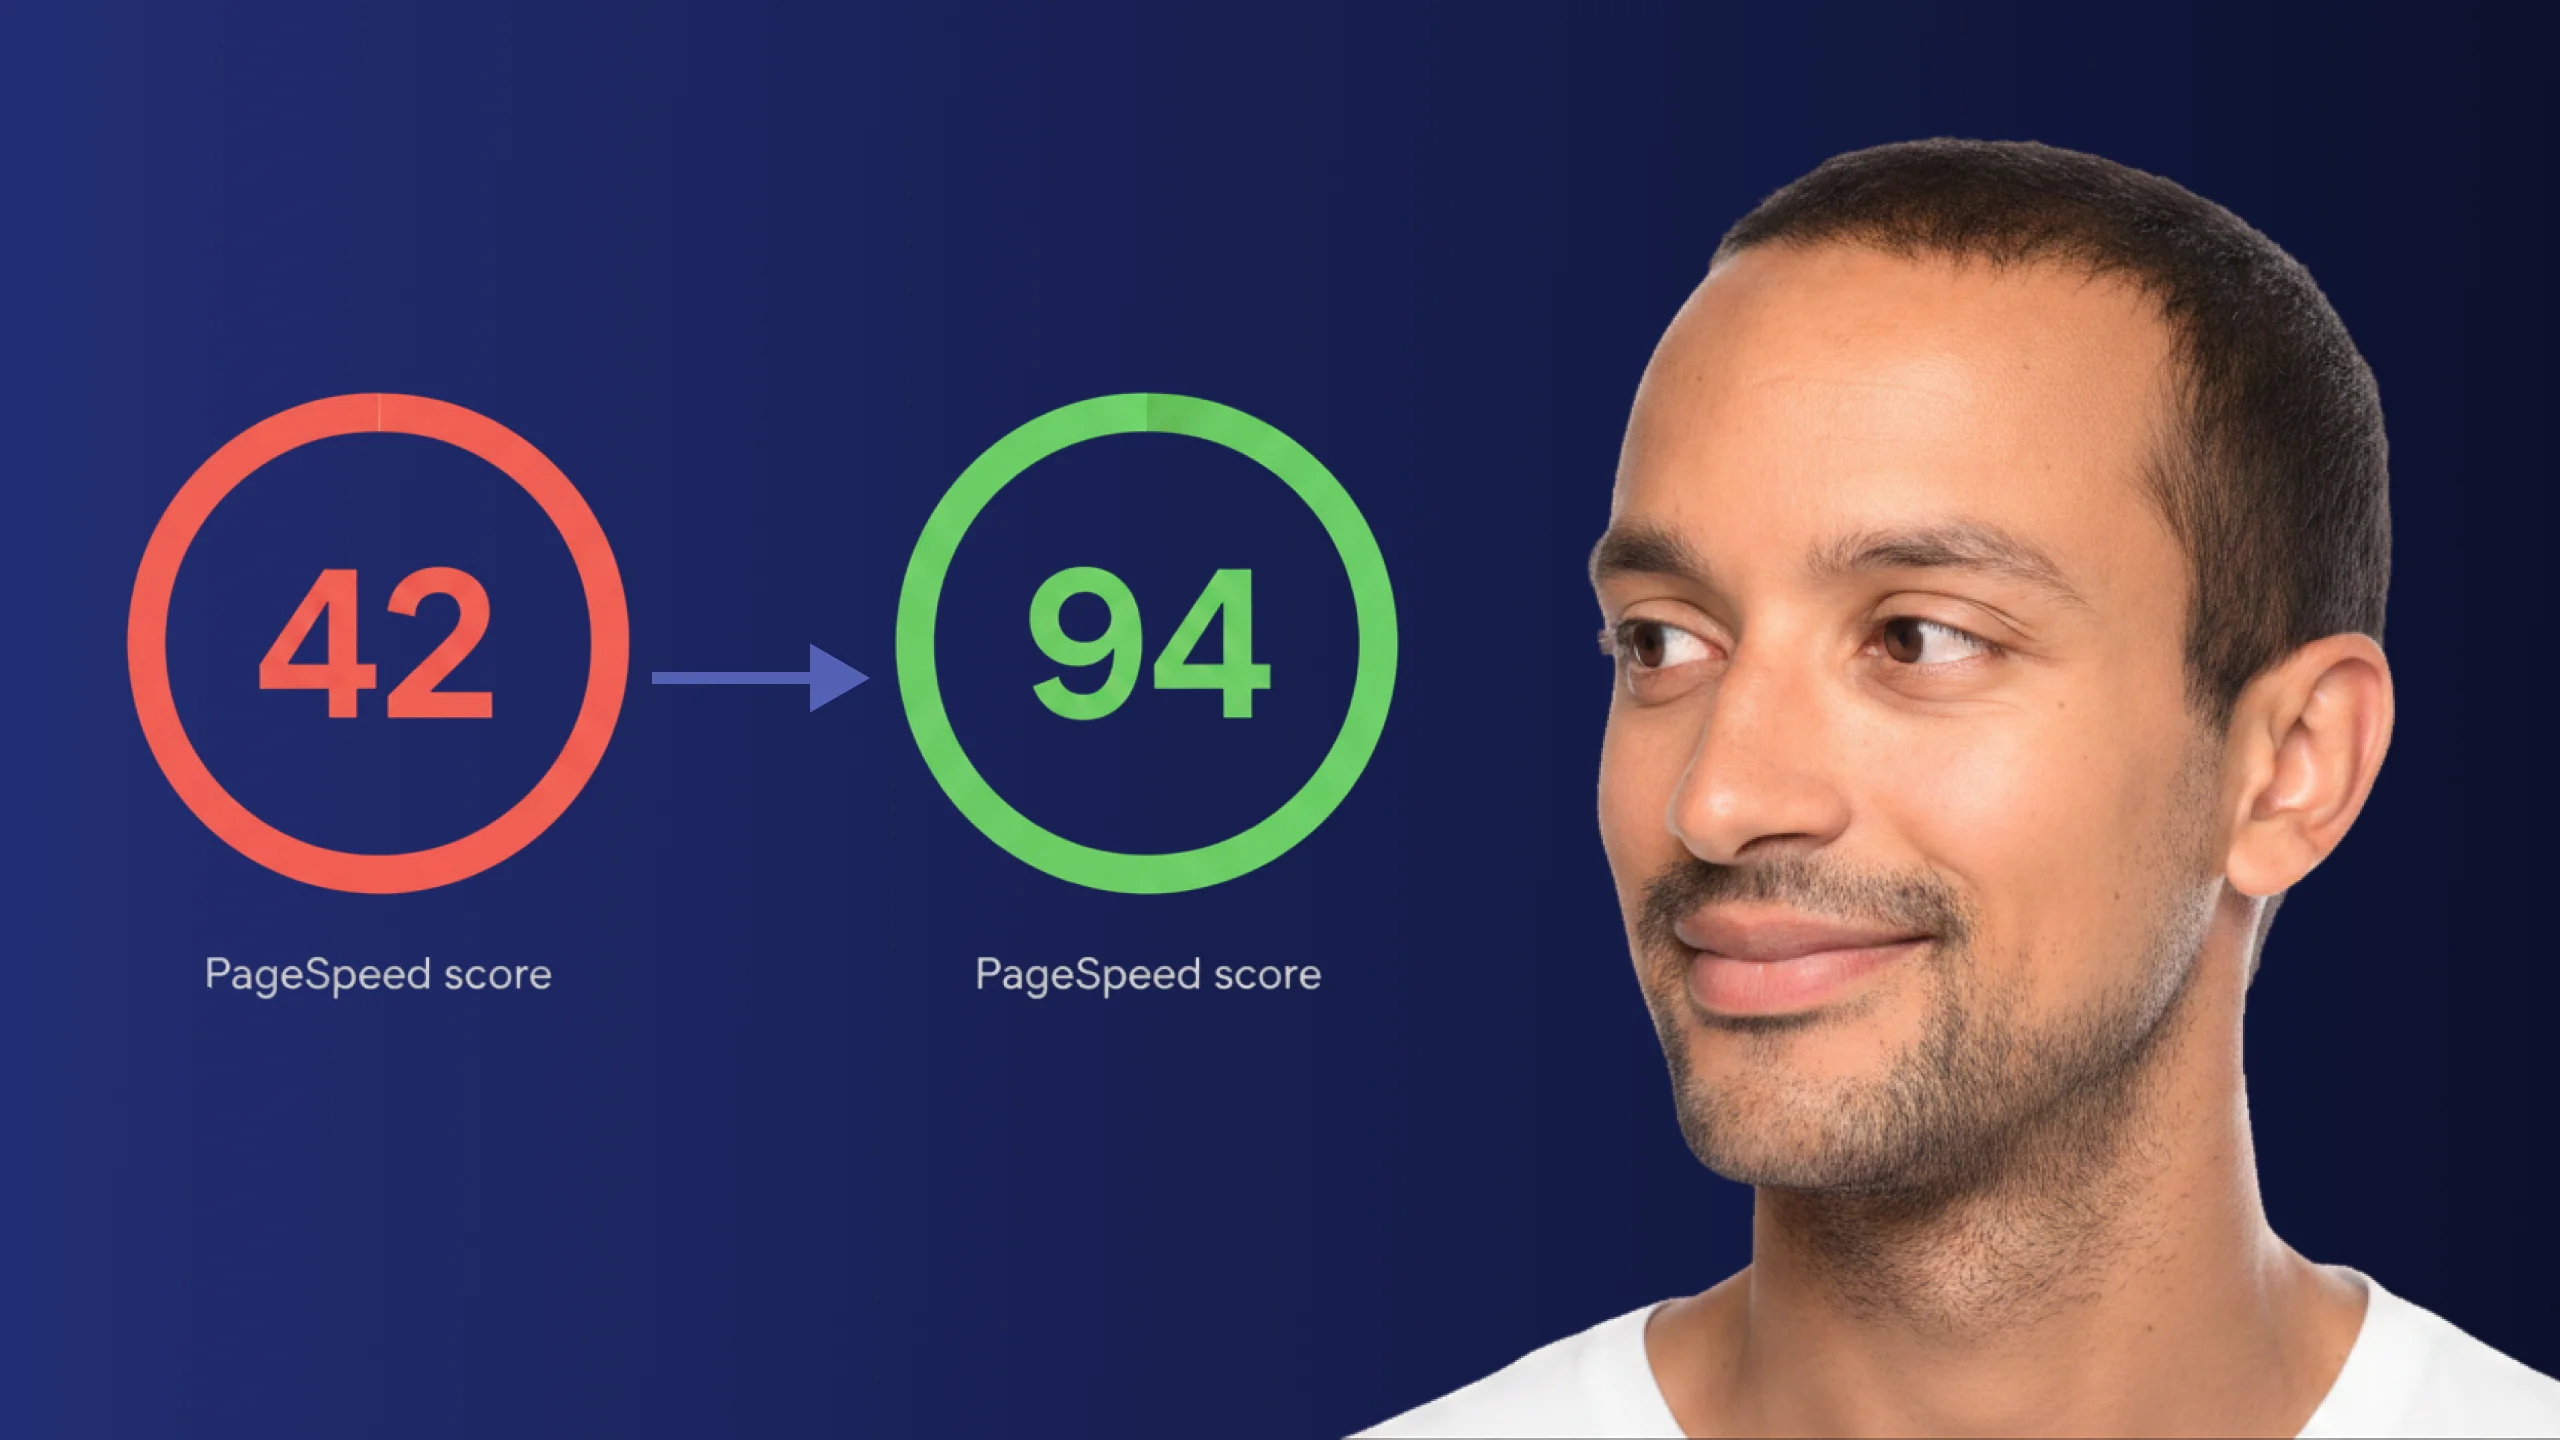
A PageSpeed score of 42 is not just slow - it is losing you real traffic on every visit. Here is exactly how Claude Code diagnosed and fixed the performance issues that moved this site from 42 to 94.
Read article