How to Build a Design System With Claude Code
Your WordPress theme was enforcing design consistency invisibly. When you migrate to a custom Claude Code build, that disappears. Here is how to replace it with four files.
Read articleThree terminal AI agents are now available from the major labs. This guide covers the exact setup for Claude Code, Gemini CLI, and Codex - from dependencies to verification - in one afternoon.

Each of the three major AI labs now ships a terminal agent. Claude Code from Anthropic, Gemini CLI from Google, and Codex from OpenAI - all designed to run alongside your code, not just chat about it. This guide covers the setup for all three: the prerequisites, the access each requires, and the commands to go from a clean machine to a running agent.
Before any of the tools install cleanly, three things need to be in place.
Homebrew manages binaries on macOS. If it is not installed:
/bin/bash -c "$(curl -fsSL https://raw.githubusercontent.com/Homebrew/install/HEAD/install.sh)"Node.js 20 or higher is required by Gemini CLI and Codex. Using nvm avoids permission conflicts that trip up global npm installs:
brew install nvm
nvm install 22
Git needs a global identity configured. All three agents create branches and commits - a missing name or email will cause errors mid-session:
git config --global user.name "Your Name"
git config --global user.email "you@example.com"None of these tools run without credentials. Set up your accounts before running the install commands - authentication happens immediately after each installation.
claude loginOPENAI_API_KEYnpm install -g @anthropic-ai/claude-codeThen authenticate:
claudeThis opens a browser prompt to link your Anthropic account. Once linked, add a CLAUDE.md file to your project root. Claude reads it at the start of every session to understand your project structure, build commands, and preferences.
brew install gemini-cliThen authenticate:
geminiThe CLI starts an OAuth flow with your Google account. If you prefer an API key from Google AI Studio instead, add this to your ~/.zshrc:
export GEMINI_API_KEY="your-api-key"npm install -g @openai/codexThen add your API key to your shell:
echo 'export OPENAI_API_KEY="your-key"' >> ~/.zshrc
source ~/.zshrcRun this before starting any real work:
claude --version
gemini --version
codex --version
claude doctor
claude doctor runs a built-in diagnostic that checks authentication, permissions, and shell integration. If any step fails, it identifies exactly what to fix.
The CLI tools work inside VS Code’s integrated terminal without any extra configuration. Open it with Ctrl + \`` and all three agents are available immediately. You can runclaudein one tab to refactor a file whilegemini` analyzes a complex function in another.
To reduce typing, add aliases to your ~/.zshrc:
alias c='claude'
alias g='gemini'
alias cx='codex'
Both Claude and Gemini also read project-level instruction files. Claude uses CLAUDE.md, Gemini uses GEMINI.md. These files give the agent context about your architecture before the first prompt.
Moving these tools into the terminal is the shift from APL2 to APL3 - from an assistant that suggests edits to an agent that executes them. The setup takes an afternoon. What changes after is how you work.
Once the setup is done, the Claude Code guide for beginners covers the first session - what to brief, what to build, and how to review the output.
One week free. If you want to try Claude Code before you commit, Anthropic offers a free week through referral. Start your free week here - no payment needed to begin.
This is part of the Build System - the layer where you move from in-editor suggestions to an agent that executes work across your entire project.
May you build Greatness! 🍀
Michael

Your WordPress theme was enforcing design consistency invisibly. When you migrate to a custom Claude Code build, that disappears. Here is how to replace it with four files.
Read article
Claude Code is not a developer tool. It is the tool that builds the marketing automations you keep describing in chat. No developer needed.
Read article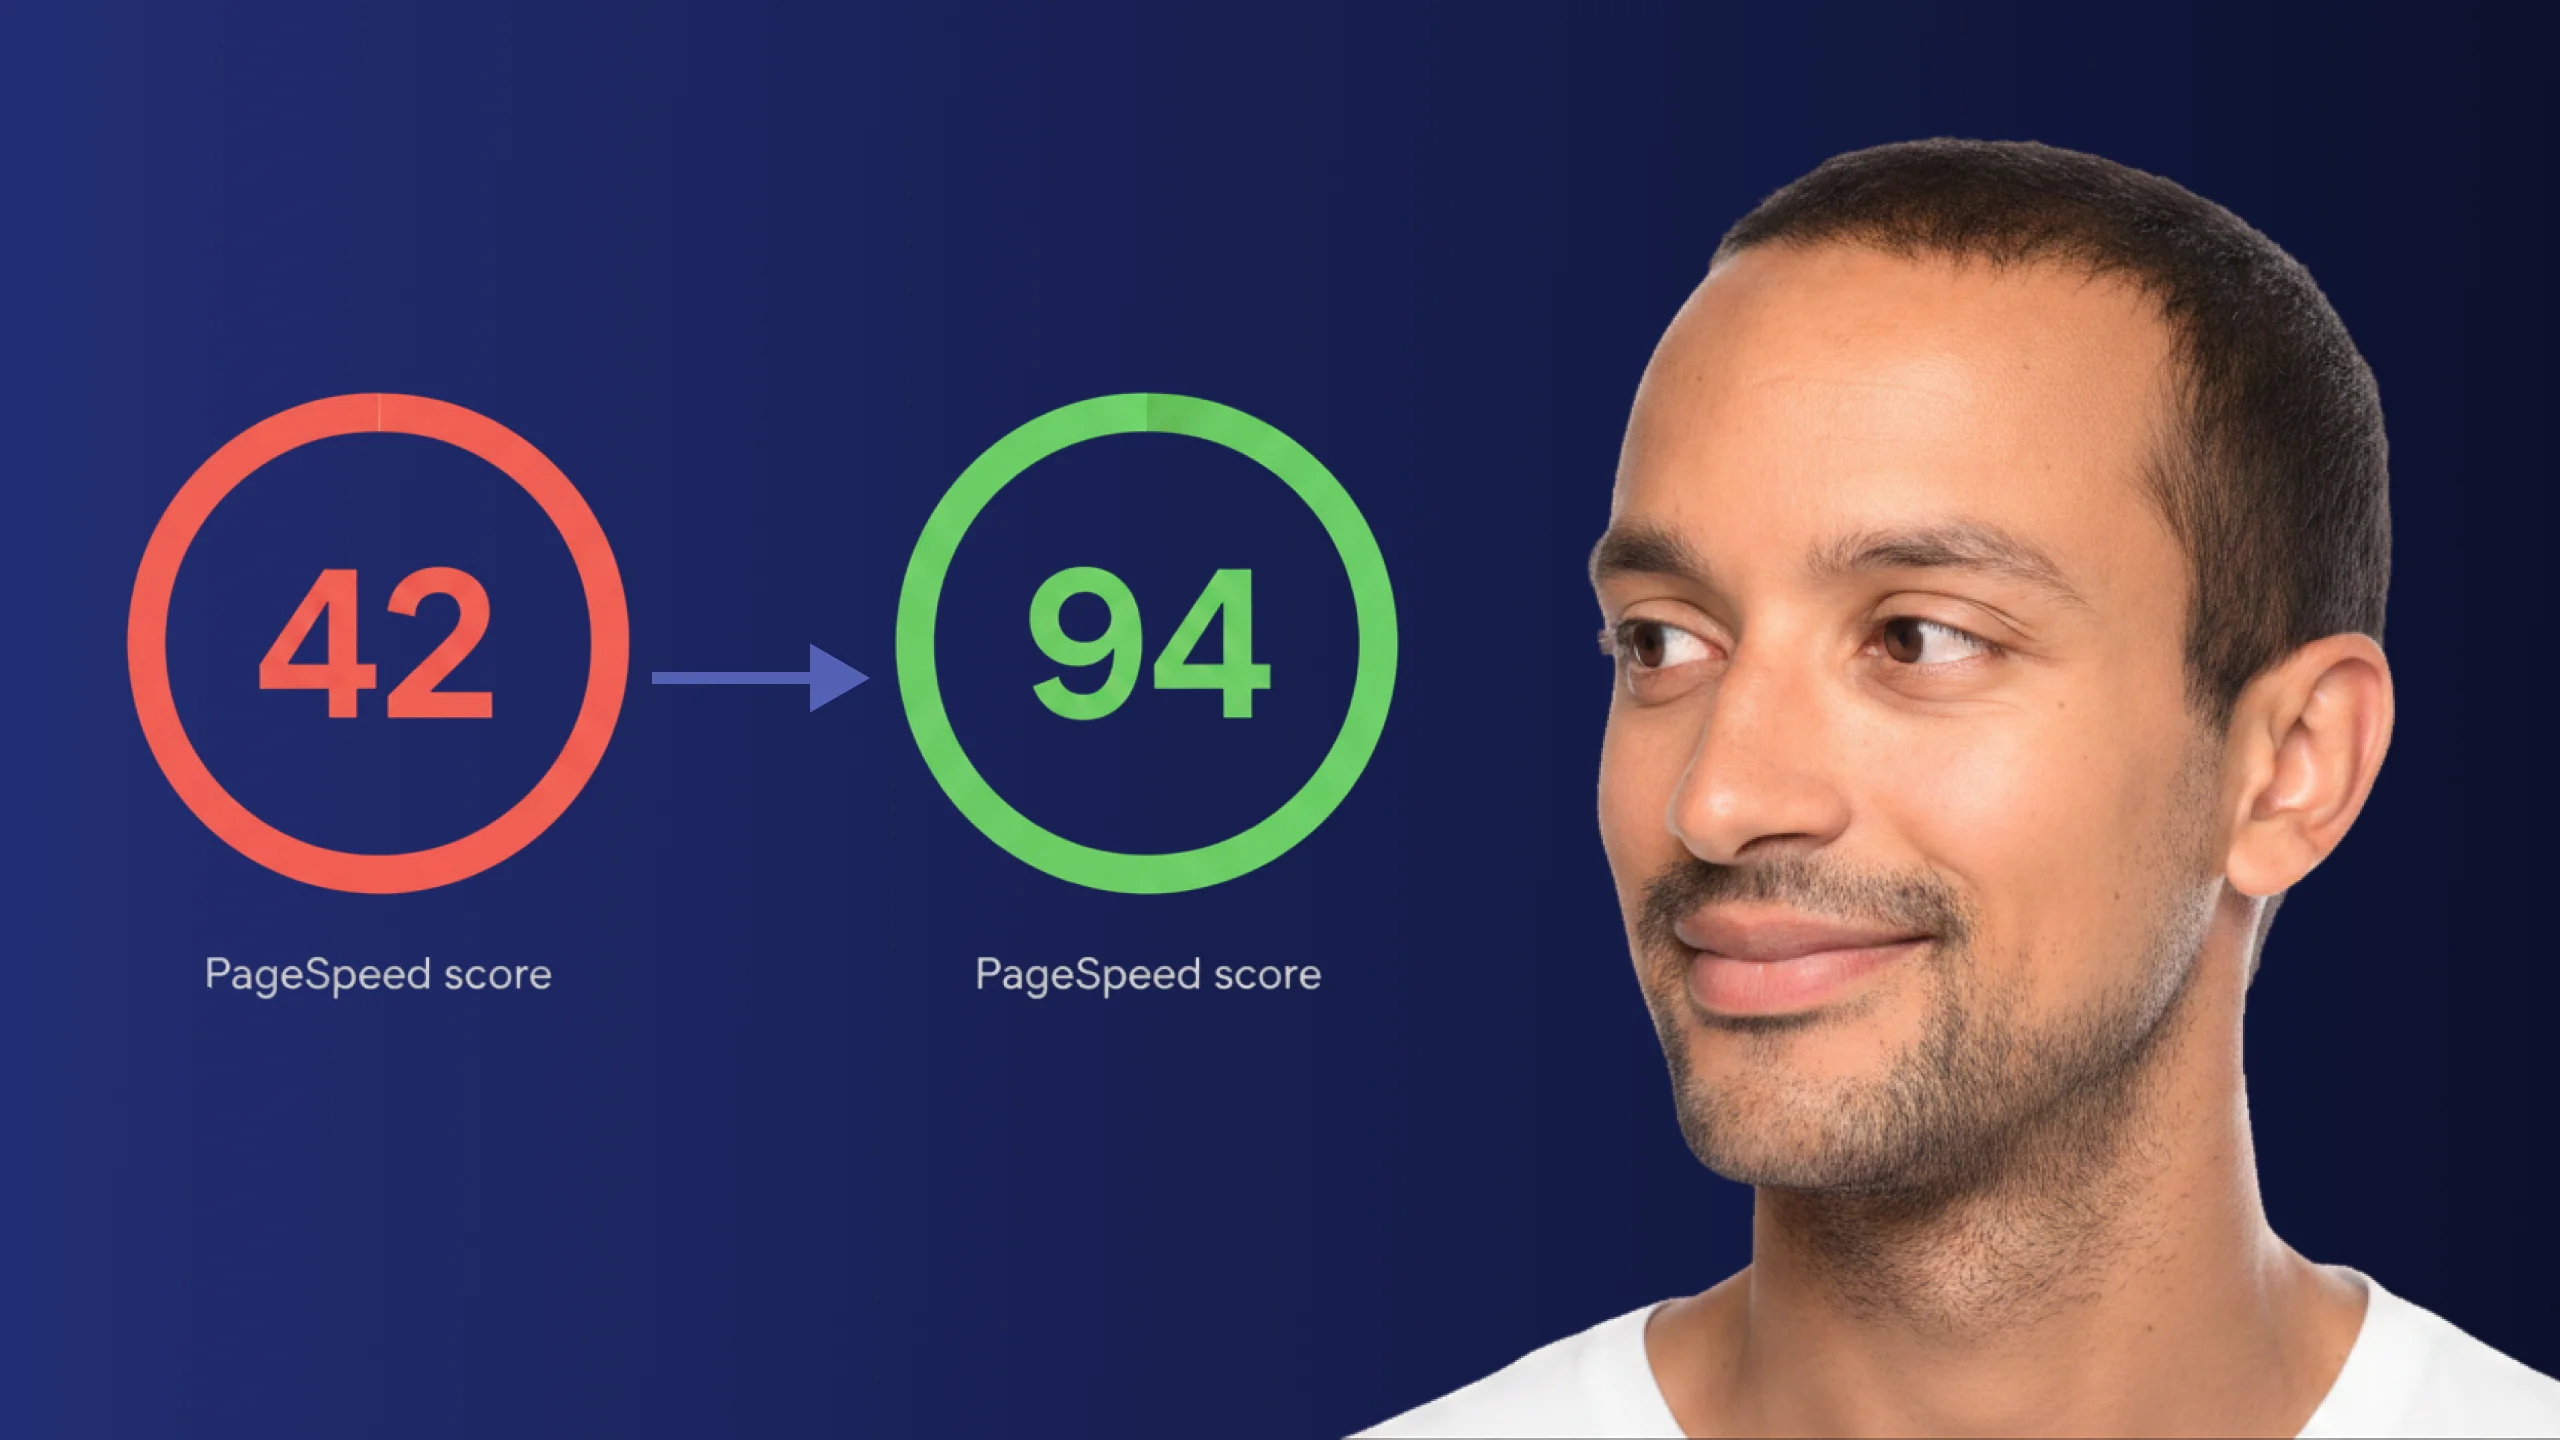
A PageSpeed score of 42 is not just slow - it is losing you real traffic on every visit. Here is exactly how Claude Code diagnosed and fixed the performance issues that moved this site from 42 to 94.
Read article