How to Build a Design System With Claude Code
Your WordPress theme was enforcing design consistency invisibly. When you migrate to a custom Claude Code build, that disappears. Here is how to replace it with four files.
Read articleEverything you need to install Claude Code, set up your first project, and configure it to work the way you actually work. No developer background required.
Installing Claude Code takes less than an hour. Configuring it correctly takes one session.
Most setup guides stop at installation. That is the wrong place to stop. Getting Claude Code running is not the same as getting Claude Code working. The gap between the two is a configuration file that most people never set up - and every session they run without it costs time they do not notice losing.
This guide covers both. Install and configure. By the end of one session, you have a proper foundation.
Node.js. Download the LTS version at nodejs.org. The install takes a few minutes. When it finishes, run node --version in your terminal to confirm it worked.
An Anthropic account. Create one at console.anthropic.com. You need a payment method to get an API key. Most beginner sessions cost under one dollar.
A project folder. Create a folder on your computer where your first project will live. You will navigate to it in the terminal during setup.
Open your terminal. On a Mac, press Command + Space and search for Terminal. On Windows, open Command Prompt or PowerShell.
Run:
npm install -g @anthropic-ai/claude-codeWait for the install to complete. Then run:
claude --versionYou will see a version number. Installation is complete.
Navigate to your project folder in the terminal:
cd path/to/your/projectThen run:
claudeOn the first launch, Claude Code asks for your Anthropic API key. Paste it in and press Enter. You are connected.
Before you build anything real, confirm that everything works.
Type:
“Create a file called hello.txt that contains the text Hello World.”
Claude Code will create the file. Open your project folder in Finder or Explorer and check. If the file is there, your setup is working.
This is the step that makes the difference.
CLAUDE.md is a file in your project root. Claude Code reads it before every session. It holds your project description, your stack, and your rules. Without it, every new session starts blank. With it, Claude Code already knows your project from the first message.
Do not write this file manually. Ask Claude Code to create it:
“Create a CLAUDE.md file for this project. Ask me what the project is, what we are building, and what rules you should follow. Then write the file based on my answers.”
Answer its questions. It writes the file. Read it over. Make any adjustments. That is your configuration.
Close your terminal. Reopen it. Navigate back to your project folder. Run claude again.
Type:
“What do you know about this project?”
Claude Code should describe your project correctly - drawing from the CLAUDE.md it just created. If it does, your setup is complete.
If it responds generically, check that CLAUDE.md is saved in the project root and not in a subfolder.
Claude Code is not recognized as a command. Run npm install -g @anthropic-ai/claude-code again. If the problem continues, close and reopen your terminal.
API key not working. Check that you copied the full key from console.anthropic.com. Keys start with sk-ant-. Make sure there is no extra space at the start or end.
Claude Code creates files in the wrong folder. Always navigate to your project folder before running claude. It creates files relative to wherever you launched it.
One week free. If you want to try Claude Code before you commit, Anthropic offers a free week through referral. Start your free week here - no payment needed to begin.
Setup done correctly once saves hours over every future session. This is the foundation the Build System is built on.
The Starter Guide continues from here - it gives you the full configuration pack with CLAUDE.md template, MEMORY.md, and the setup sequence for your first real project.
Next in this series: What Can You Build With Claude Code?
May you build Greatness! 🍀
Michael
Your WordPress theme was enforcing design consistency invisibly. When you migrate to a custom Claude Code build, that disappears. Here is how to replace it with four files.
Read article
Claude Code is not a developer tool. It is the tool that builds the marketing automations you keep describing in chat. No developer needed.
Read article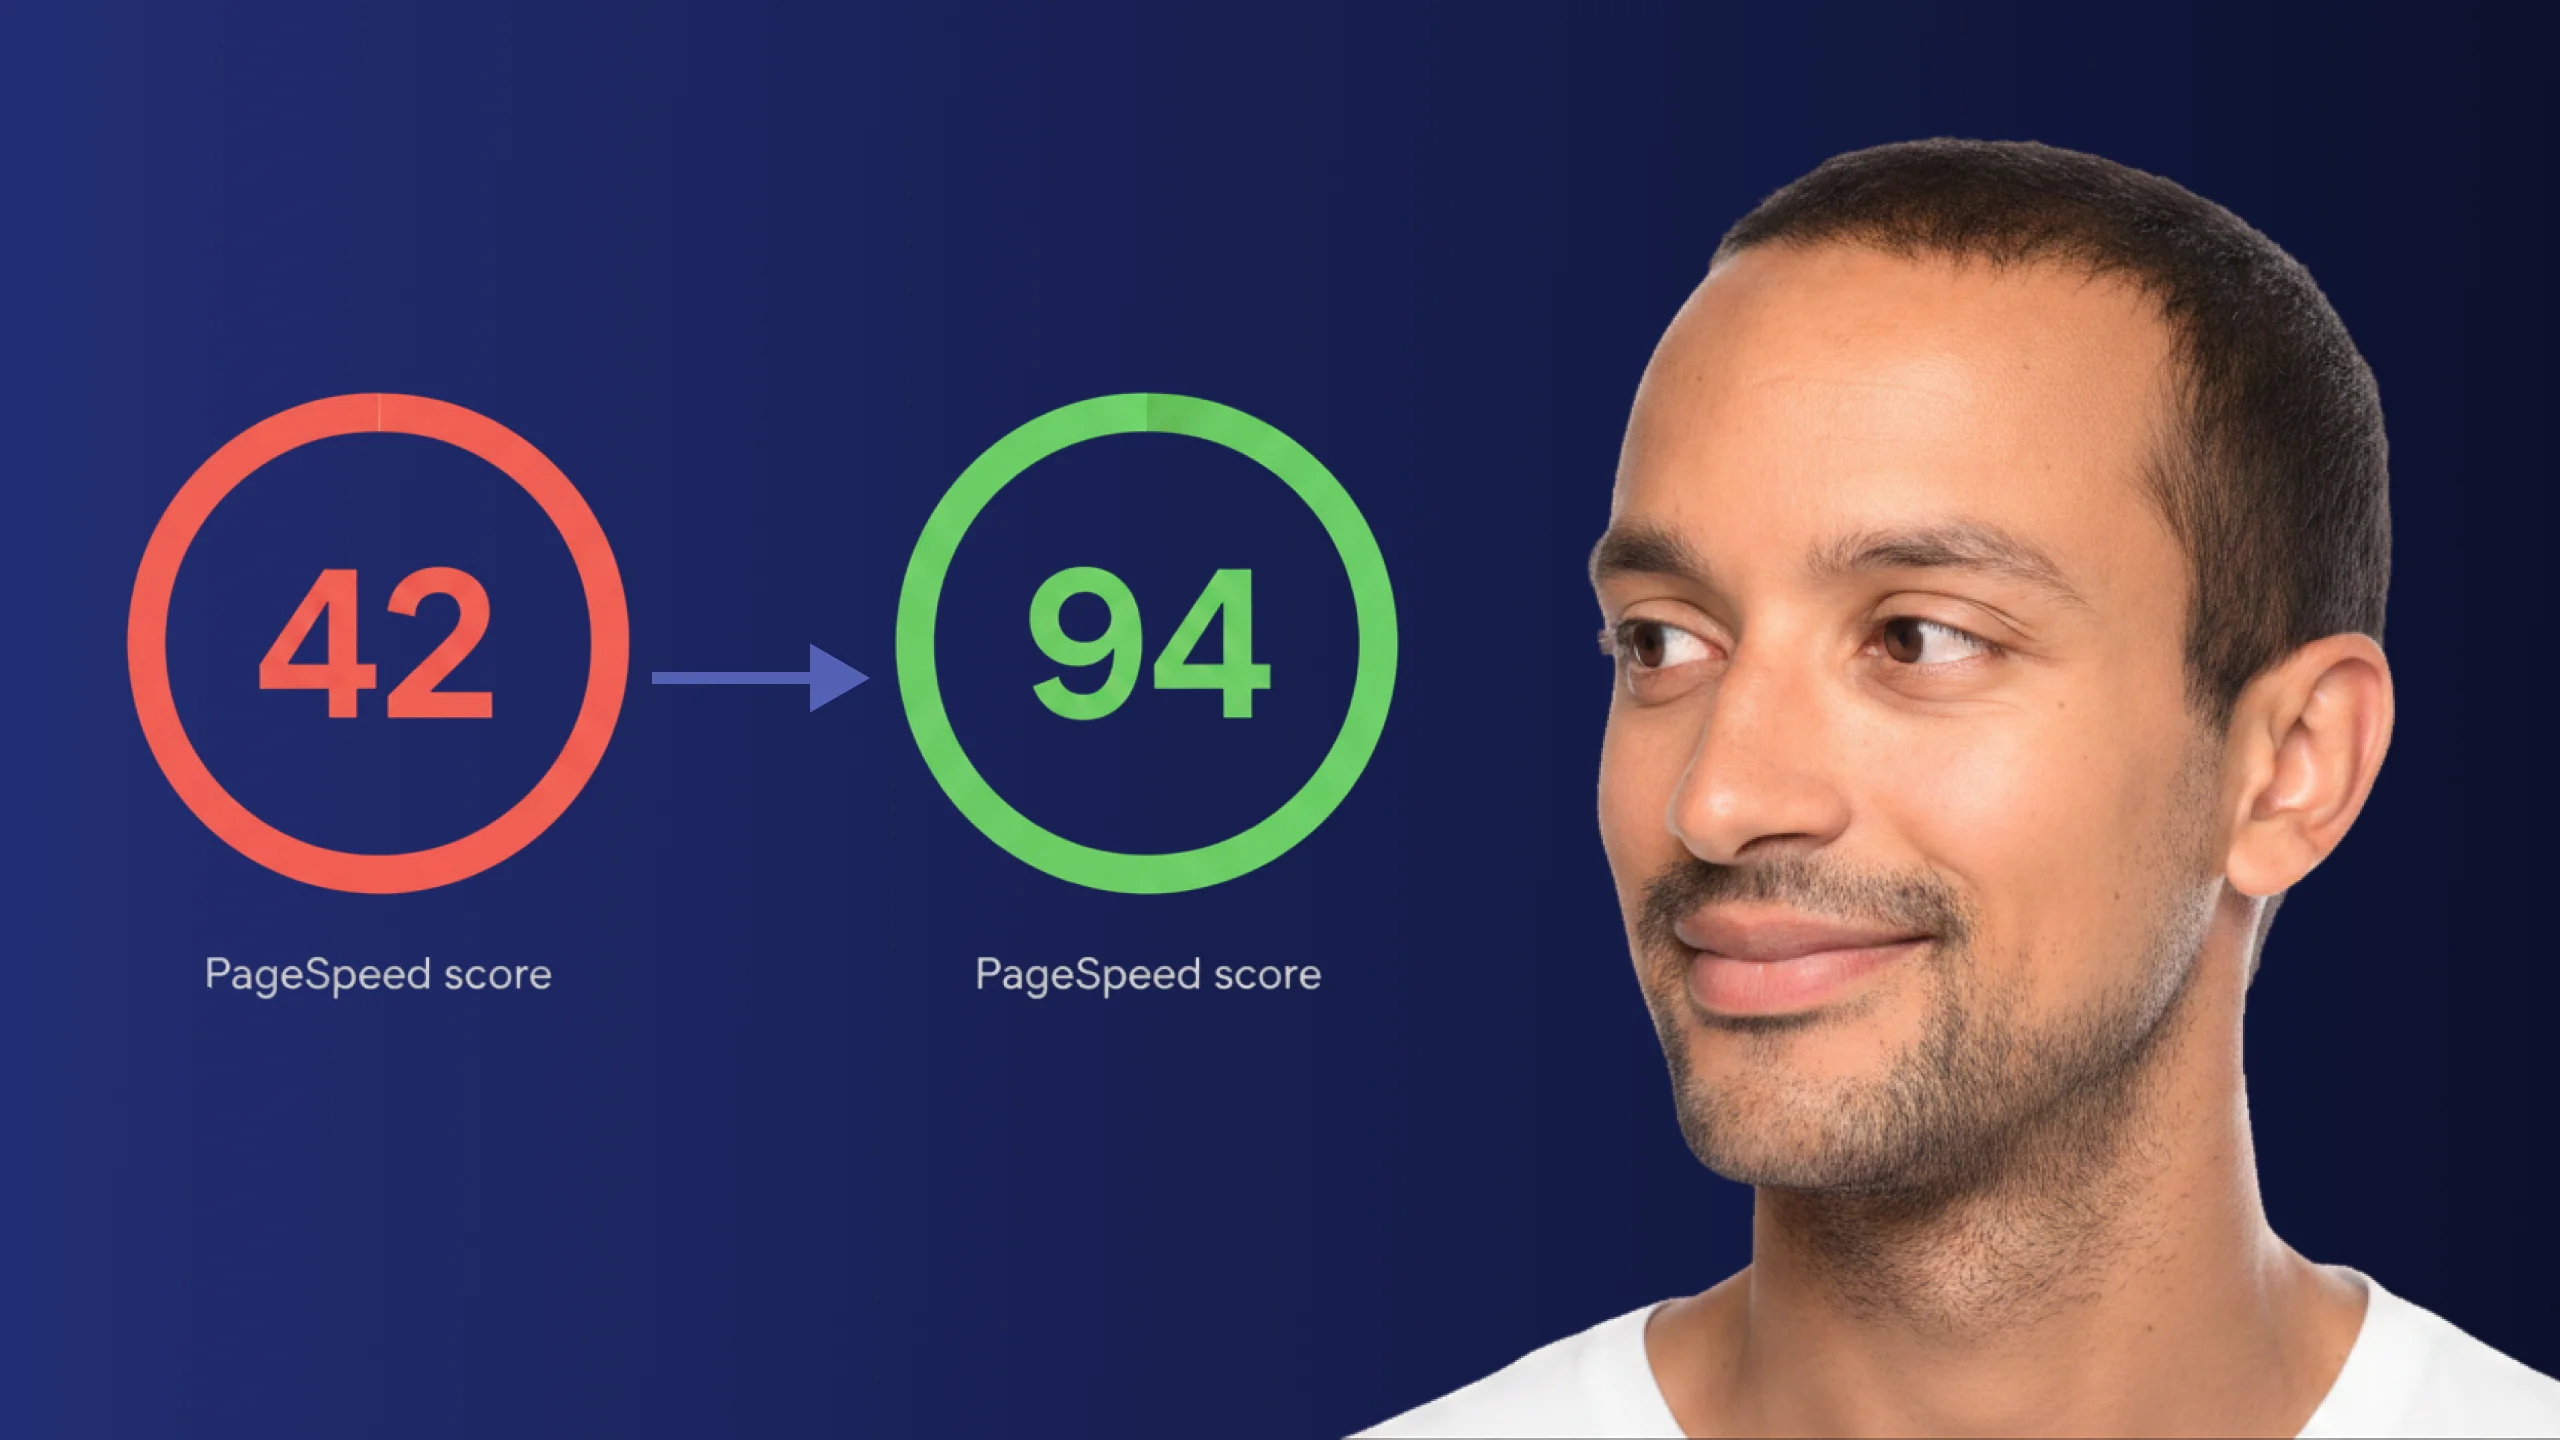
A PageSpeed score of 42 is not just slow - it is losing you real traffic on every visit. Here is exactly how Claude Code diagnosed and fixed the performance issues that moved this site from 42 to 94.
Read article